



Setting up a new Elite Dash screen takes five steps: request your account, wire the screen, log in over Wi-Fi, connect your ECU, then set up your vehicle in the Dash Settings menu.
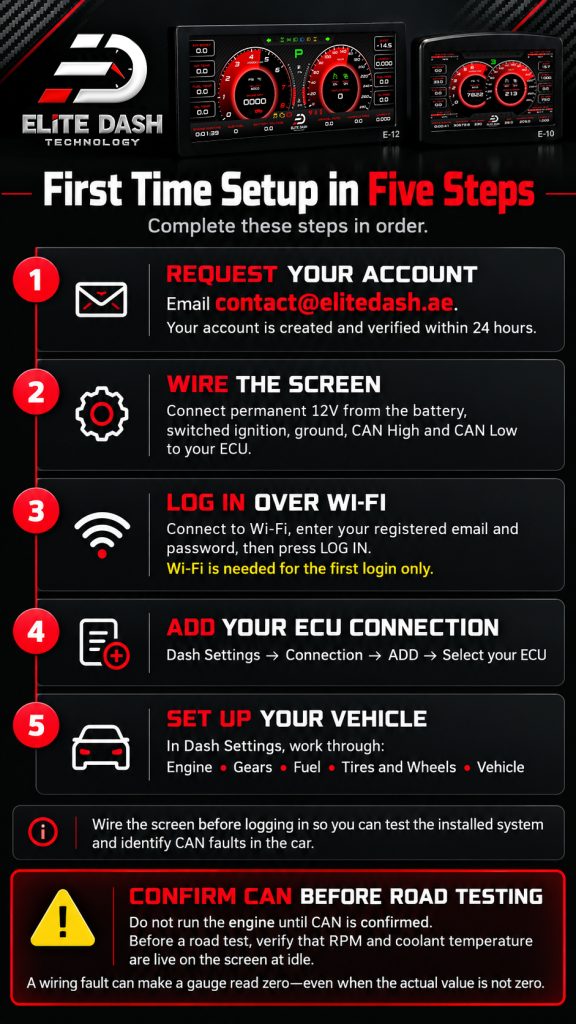
Do them in this order. Customers who wire the screen last end up logging in on a bench, then discovering a CAN fault in the car with no way to test it.
- Request your account. Email contact@elitedash.ae. Your account is created and verified within 24 hours.
- Wire the screen. Permanent 12V from the battery, switched ignition, ground, and CAN High and CAN Low to your ECU.
- Log in. Connect the screen to Wi-Fi, enter your registered email and password, press LOG IN. Wi-Fi is needed for the first login only.
- Add your ECU connection. Dash Settings, then Connection, then ADD, then pick your ECU from the list.
- Set up your vehicle. Work through Engine, Gears, Fuel, Tires and Wheels, and Vehicle in the Dash Settings menu.
⚠️ Do not run the engine until CAN is confirmed. Verify RPM and coolant temperature are live on the screen at idle before you road test. A gauge that reads zero because of a wiring fault looks identical to a gauge reading a real zero.
Related: How to Create Your EliteDash Account · How to Add a New ECU Connection · How to Open the Dash Settings Menu