



Wire CAN High and CAN Low from the screen harness to the MaxxECU CAN bus, then add the MaxxECU source in Connection. On the ECU side, enable the CAN output that matches the EliteDash configuration in MaxxTune.
MaxxECU is the most widely used ECU across Elite Dash installs, including the QC test bench, so this configuration is the most thoroughly tested one available.
On the ECU side:
- Open MaxxTune and go to the CAN configuration.
- Enable the CAN bus output used by EliteDash.
- Set the CAN bit rate.
- Save to the ECU.
On the screen:
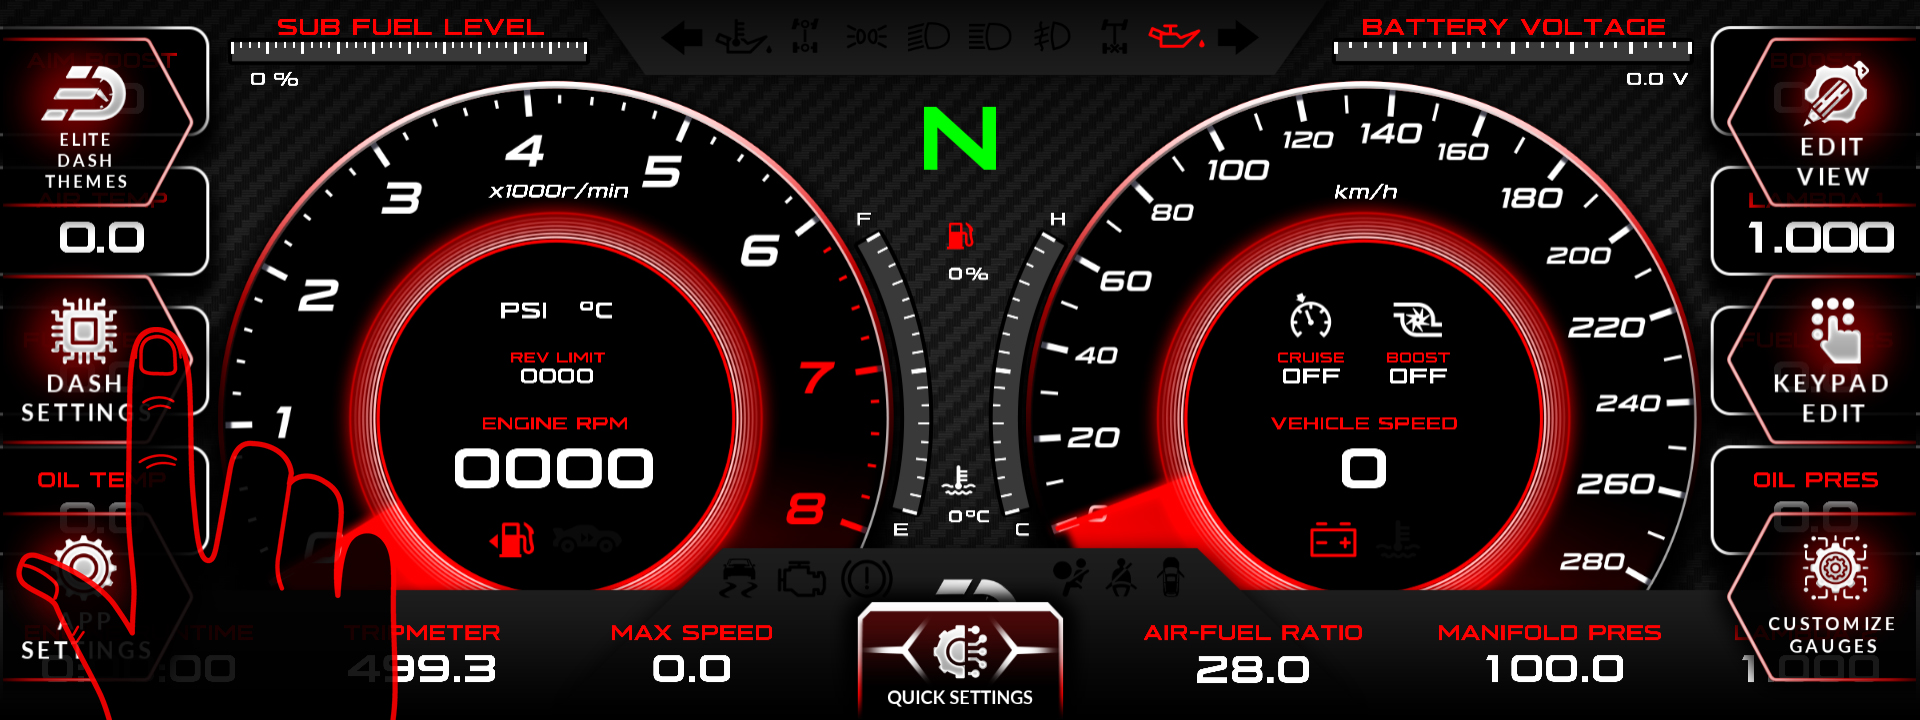
- Tap the top middle of the screen. The menu bar appears.
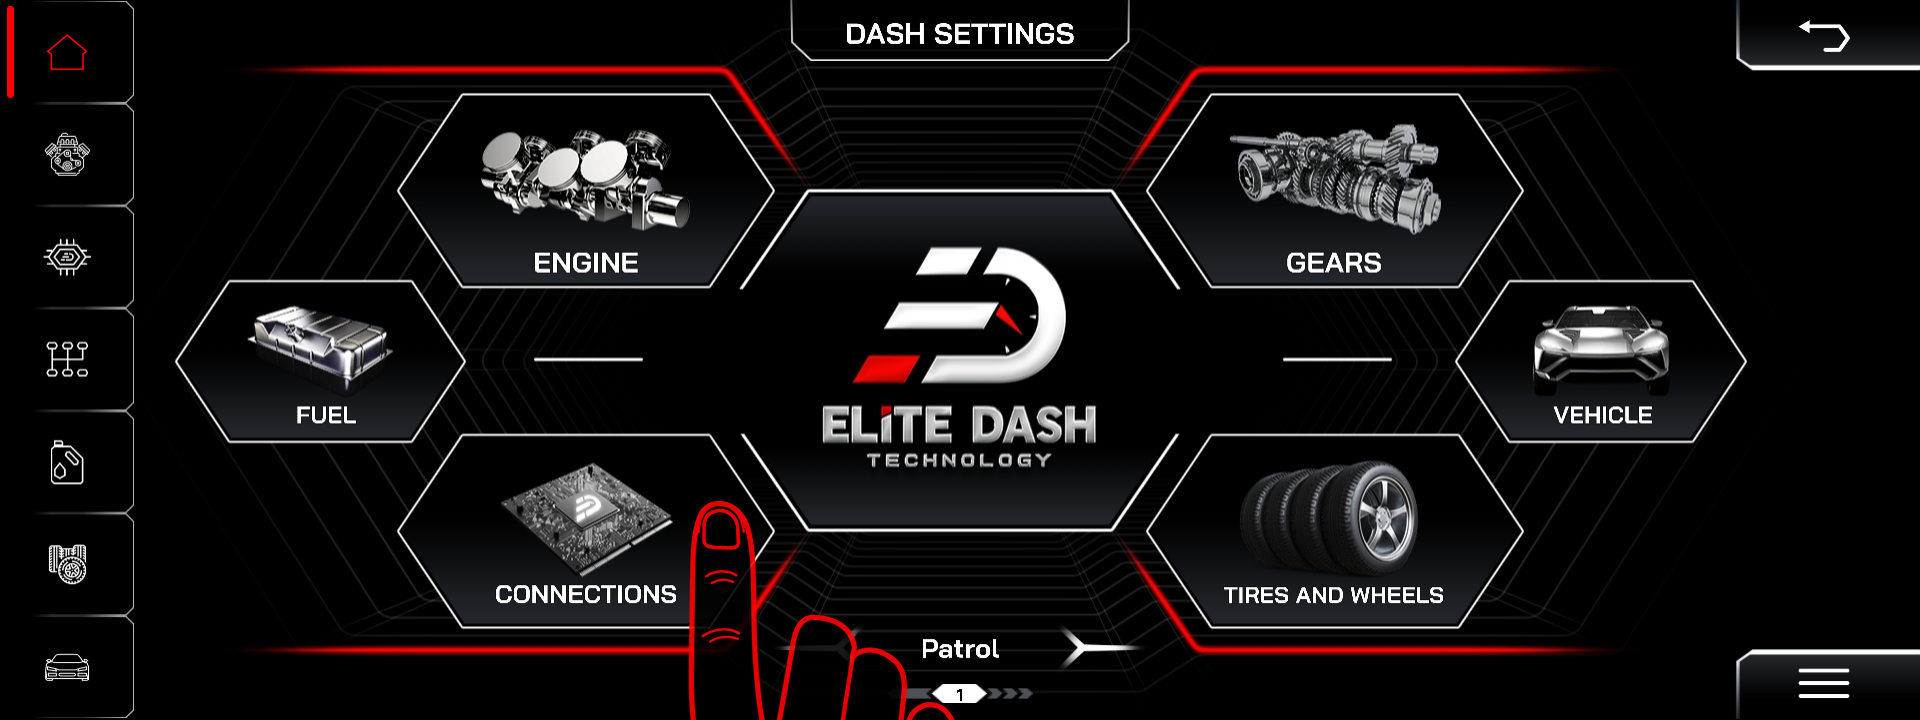
- Tap DASH SETTINGS.
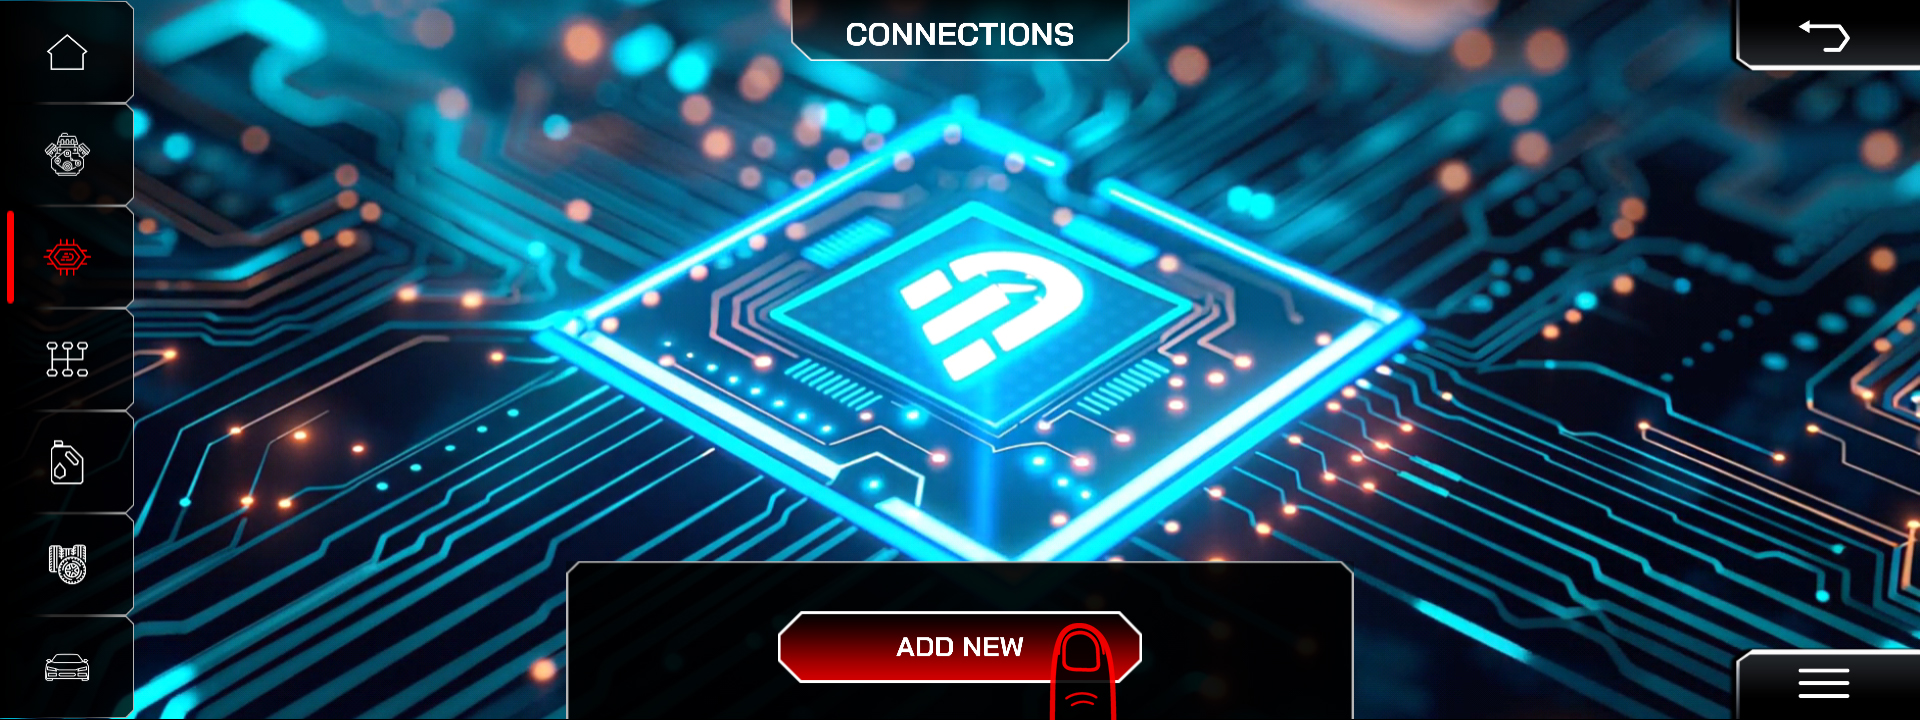
- Open Connection to view the current list of data sources.
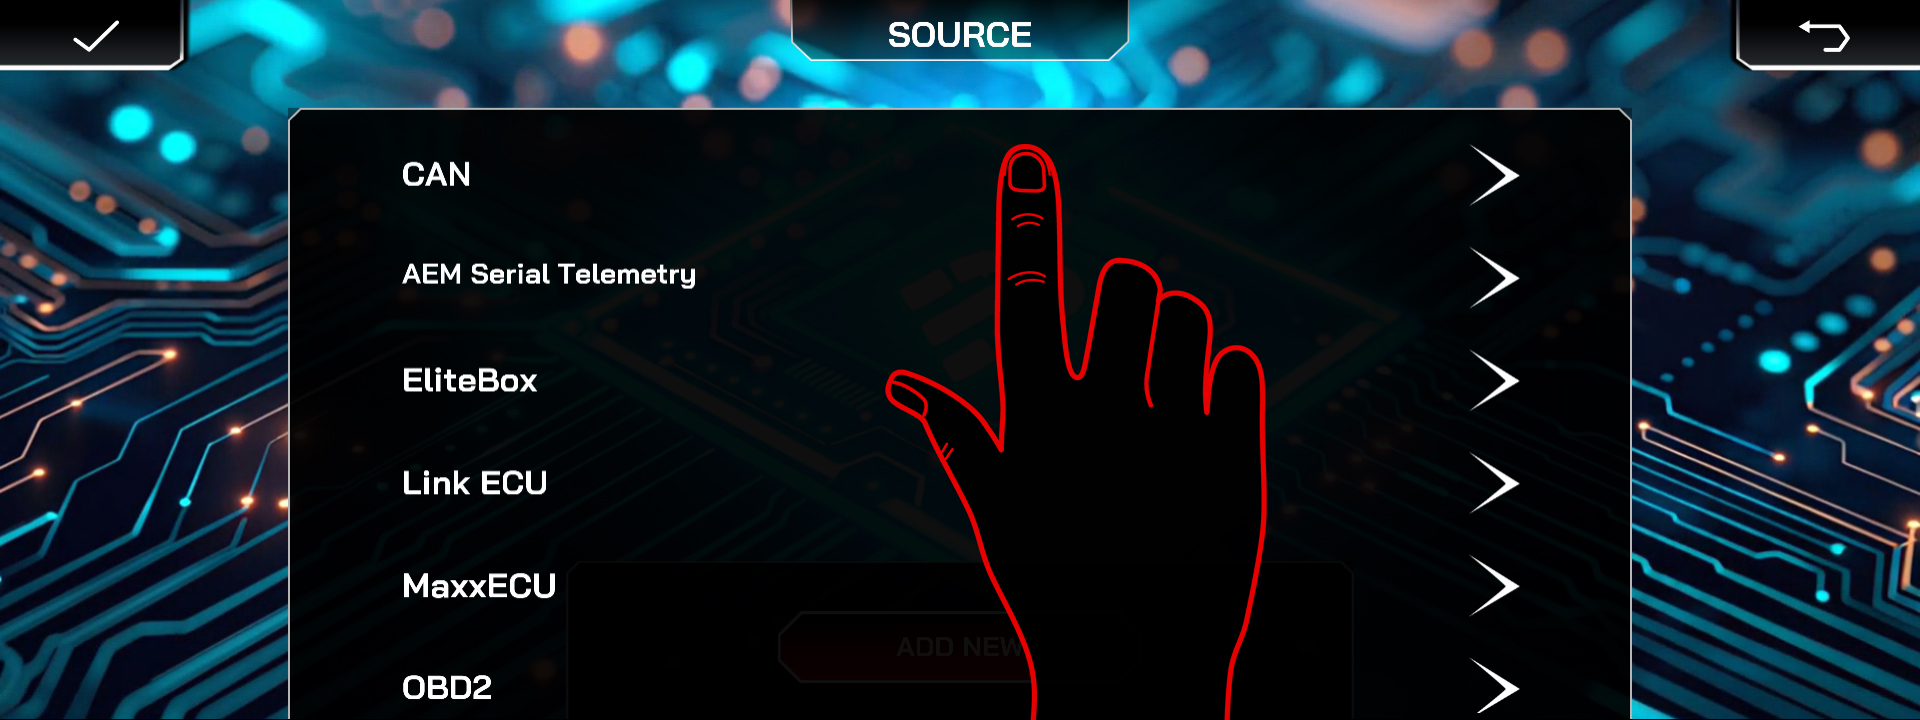
- Select the CAN source.
- Add CAN Description File
- Then select the MaxxECU source.
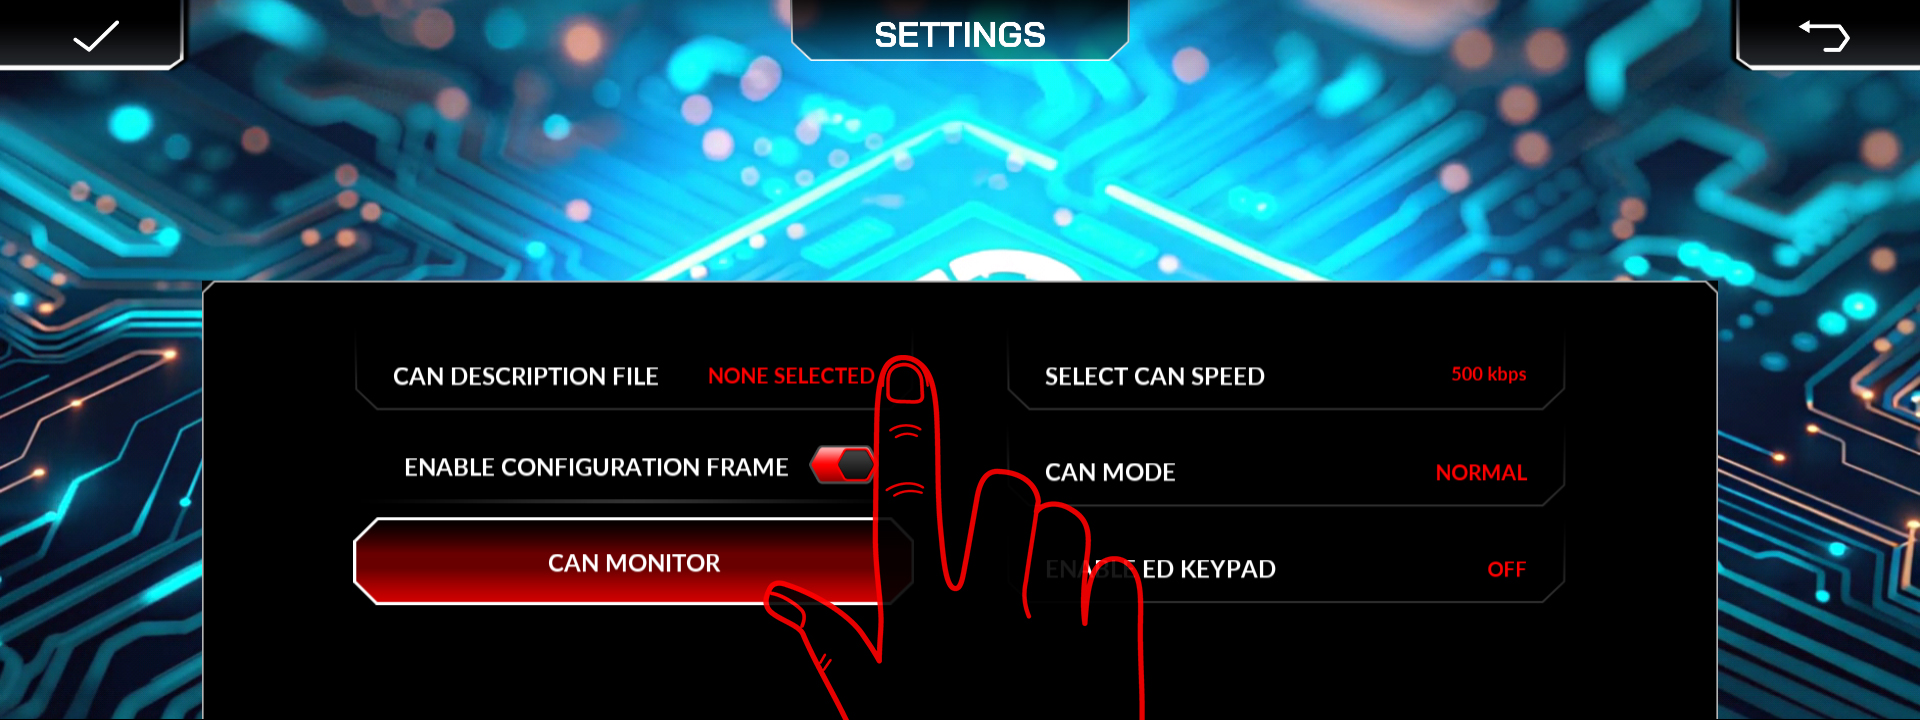
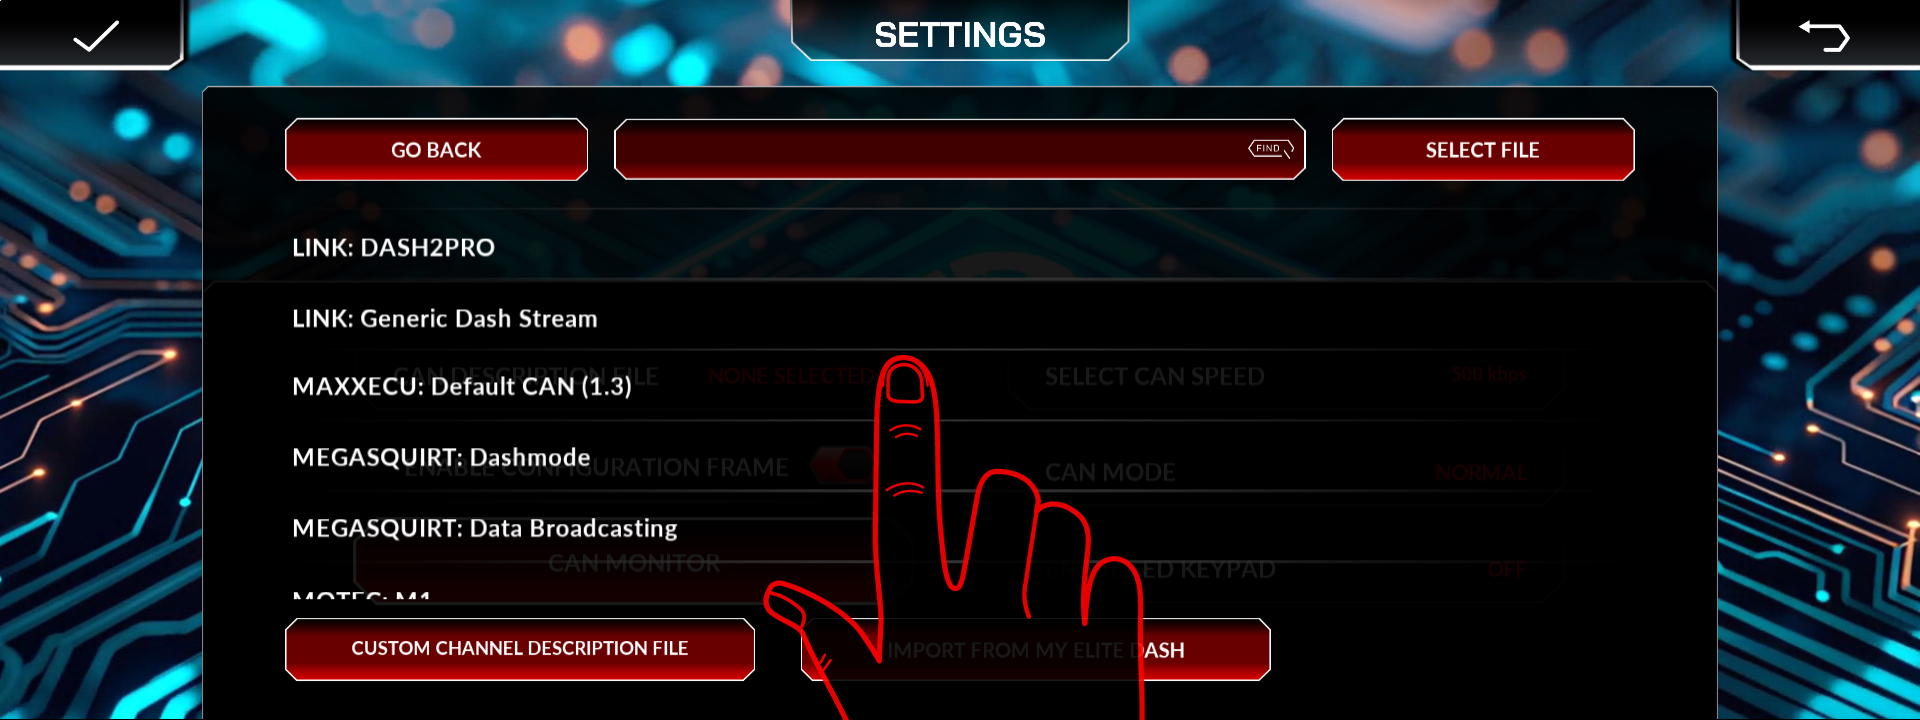
Start the engine and confirm RPM, coolant temperature, MAP and lambda are live.
Published XML file name and version for MaxxECU, and the CAN bit rate.
MaxxECU users can also run the Bluetooth keypad, which gives a 3 position boost selector and a 10 position tune selector.
Related: CAN Keypad or MaxxECU BT Keypad: What Is the Difference · MaxxECU Error Code List · Understanding CAN XML Files and Channel Mapping